troubleshooting
Drum sander snipe: diagnose extra sanding at board ends
Snipe is a localized change in thickness near the leading or trailing end of a board. It is different from a continuous taper or a scratch that only looks deeper under raking light. Start by confirming the geometry. Otherwise, it is easy to alter roller settings to fix a problem the rollers did not cause.
As an Amazon Associate I earn from qualifying purchases. “Check Amazon” links are affiliate links.
A relevant product to inspect

Check exact model, included equipment and current seller details.
Check AmazonMeasure the defect
Mark the entry end and the face being sanded. Measure thickness in comparable positions near each end and farther into the board, avoiding dents or rough edges that distort the reading. Use a straightedge and side lighting to locate the transition. Write down whether the defect occurs at entry, exit, or both.
Check several suitable pieces. If the defect appears only on a long, heavy panel, the handling and support arrangement deserves attention before internal calibration. If short, flat test boards show the same result consistently, you have a more repeatable case for checking the machine.
Check the board’s path
Look at the support arrangement with the machine stopped. A board must travel without striking a stand, tipping over an edge, or catching on an extension table. Support height should follow the machine’s instructions. A support that seems conveniently high can change the way a long board bears on the conveyor.
During an approved test, keep hands outside the danger area and allow the conveyor to feed the board. Do not try to cure snipe by lifting or pressing the workpiece near the sanding opening. An assistant should understand the same feed plan and avoid steering or tugging from the outfeed side.
Check the complete product offer
Affiliate link. Confirm the version, specifications and included accessories before purchase.
Check AmazonUse model-specific roller instructions
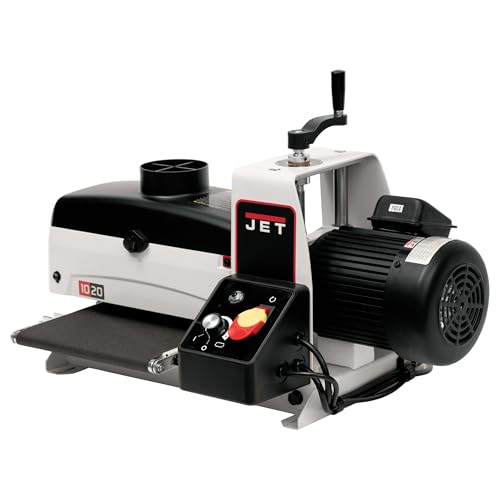
JET publishes a JWDS-series snipe troubleshooting demonstration. Treat such material as a guide for the machines it identifies, not as an instruction to turn the same nut on another brand. Pressure-roller height and spring pressure are related but distinct settings; their adjustment arrangements vary.
Unplug before inspecting or adjusting internal components. Photograph the initial positions, identify the exact screws in the correct manual, and make only the prescribed adjustment. Changing all rollers at once loses the baseline and can introduce feeding trouble. If the manual’s illustration does not match your machine, obtain the correct revision or ask support.
Verify before processing a batch
Use consistent scrap and repeat the same thickness measurements after a change. A prettier surface under one light angle is not enough to establish that end thickness improved. Compare both ends and the center, and make sure the board still feeds properly.
When the project allows it, planning extra length may keep a known end defect outside the final part. That is a production allowance, not a repair to a feeding fault. Do not use sacrificial followers or unusual feed sequences unless your manual permits the technique. Persistent snipe on controlled tests warrants a service discussion rather than progressively larger roller adjustments.
Questions, answered
Can extension tables eliminate every instance of snipe?
No. They may help support a board, but their alignment and the machine’s internal settings still matter. Confirm the result with measurements.
Should I sand the board backward?
Do not reverse the machine’s required feed direction. Reorienting a board on a later pass is a separate decision and must remain within the manual’s operating instructions.