guides
End-grain cutting boards on a drum sander: limits and preparation
An end-grain cutting board is a demanding workpiece, and a drum sander is not automatic permission to process every glue-up. Begin with the exact machine’s permitted materials, stock limits, and operating instructions. If the manual does not establish whether your end-grain application is acceptable, ask the manufacturer before building the process around it.
As an Amazon Associate I earn from qualifying purchases. “Check Amazon” links are affiliate links.
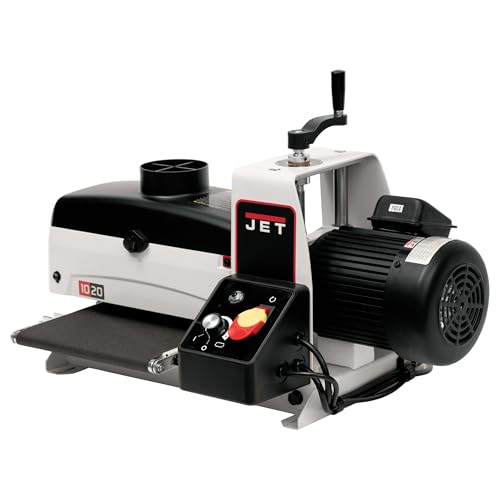
A relevant product to inspect

Check exact model, included equipment and current seller details.
Check AmazonInspect the assembled board
Check the glue-up for open joints, cracks, loose sections, embedded objects, and hardened protrusions. Follow the adhesive maker’s cure instructions rather than judging readiness only by the exposed squeeze-out. Do not send an unstable glue-up through the machine to discover whether its joints will hold.
Measure overall size and intended final thickness against the machine’s limits. Handles, rebates, and other cutouts can affect the usable reference surface. A board that fits the nominal sanding width may still be unsuitable because of its thickness, shape, or inability to travel stably.
Separate flattening from surface sanding
Check the underside and look for rocking on a reliable flat reference. A thickness-sanding pass does not automatically establish a flat datum on an unstable board. If substantial flattening is needed, plan an appropriate preparation method first and confirm that method’s suitability for end grain.
Do not transfer a planer technique to a drum sander or assume that a successful face-grain workflow applies unchanged. A carrier introduces another support and attachment system; use one only with manufacturer guidance for the application. This guide does not provide a universal sled recipe for bypassing stock limits.
Check the complete product offer
Affiliate link. Confirm the version, specifications and included accessories before purchase.
Check AmazonProtect the remaining thickness
Identify the amount of correction required before choosing the abrasive sequence. Reserve material for the later surface preparation and any intended design details. Use a representative offcut or test glue-up when available, while recognizing that a smaller sample does not duplicate a wide panel’s operating demand.
Start with the model’s conservative procedure, keep guards closed, and observe normal feeding. Stop for a stall, an unfamiliar noise, a loose wrap, or scorching. Never push harder to overcome hesitation. With power disconnected, inspect before deciding whether the cause lies in the stock, abrasive, extraction, or settings.
Evaluate the whole surface
Inspect joints and edges after the test as well as the central face. Use consistent lighting to see remaining scratches and compare thickness at several points. A smooth-feeling patch does not show that a high glue joint or a low area has been fully corrected.
Plan subsequent sanding and finishing from the intended use and the finish manufacturer’s directions. The drum-sanding step alone does not establish that a board is ready for a particular coating or use. Keep notes on the species combination, adhesive, cure conditions, abrasive, and final measurements. If the application repeatedly loads paper or burns despite an approved setup, pause and ask the machine and abrasive suppliers to review the process.
Questions, answered
Are all drum sanders approved for end grain?
Do not assume so. Obtain guidance for the exact model and workpiece; this article does not certify an application that the manufacturer has not addressed.
Can I fix a badly warped glue-up with repeated passes?
First establish a sound reference and an approved preparation method. Repeating passes on an unstable board may consume thickness without producing the geometry you need.