guides
Depth, feed, and grit: build a repeatable sanding workflow
Depth, feed, and grit work together. Changing one while ignoring the others can turn a familiar job into a poor result. A useful workflow begins with the defect you need to remove, the thickness you can afford to lose, and a suitable reference face. The goal is a controlled sequence, not the fewest possible passes.
As an Amazon Associate I earn from qualifying purchases. “Check Amazon” links are affiliate links.
A relevant product to inspect

Check exact model, included equipment and current seller details.
Check AmazonDefine the job before choosing grit
Measure the starting thickness and identify the deepest relevant defect. Separate rough dimensioning from light surface preparation. If a board needs substantial correction or lacks a stable reference, consider whether another preparation step belongs ahead of the drum sander. Do not expect a finishing abrasive to solve every stock-preparation problem.
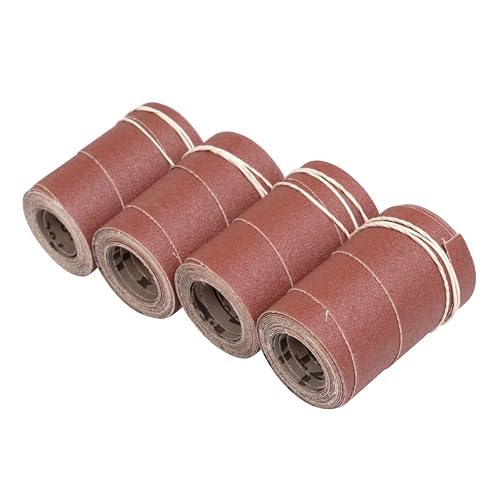
The SuperMax 19-38 manual distinguishes material-removal grits from fine finishing grits. Use the grit guidance for your own machine and abrasive. A grit number describes the abrasive grade; it is not a promised removal rate or a universal final surface specification.
Establish contact conservatively
Follow the model’s procedure for setting the initial drum height. Handwheel travel differs, so a fraction of a turn quoted for another machine can represent the wrong amount of movement. Keep guards in place during sanding, and make internal checks only with the machine stopped and disconnected.
Use suitable scrap of representative wood and width. Record the control settings and measure before and after the pass. A control dial is useful for repeating a setting on the same machine, but the workpiece measurements tell you what happened. Do not assume the first touch removed the same amount everywhere on an uneven surface.
Check the complete product offer
Affiliate link. Confirm the version, specifications and included accessories before purchase.
Check AmazonChange one variable at a time
Inspect the result for remaining defects, directional scratches, discoloration, and thickness variation. If the cut is unsuitable, choose one deliberate change within the manual’s guidance and compare again. Changing grit, feed, depth, and board orientation together prevents you from learning which change mattered.
Do not chase surface quality by slowing the feed indiscriminately or deepen the setting to compensate for a tired wrap. Check abrasive condition and dust extraction when performance deteriorates. A stalled or laboring machine ends the trial; it is not an invitation to push the workpiece.
Advance only when the previous stage is complete
Move through the selected abrasive sequence after the prior defect or scratch pattern has been adequately addressed. Examine the surface under consistent lighting. A fine finish on the high spots can disguise coarse scratches in lower areas, especially when judging by touch alone.
Reserve enough thickness for subsequent surface preparation. Depending on the project, directional drum-sander scratches may need a different finishing method. Make that decision from a test sample and the intended finish, not a claim that one grit always produces a ready-to-coat surface. Save the successful process notes with the job, including wood, width, abrasive, measurements, and any required later sanding.
Questions, answered
What depth should every pass remove?
There is no universal value. Use the exact manual, the condition of the abrasive, the wood and width, and measured trial results.
Can I skip grits?
Evaluate the scratch removal on a sample. A jump that leaves the earlier pattern behind saves no time if you must return to a coarser stage.