troubleshooting
Abrasive tearing or loosening on a drum sander
When an abrasive strip tears or lifts, stop the machine. A loose wrap can damage the workpiece and should not be run until it tightens itself. Save the failed strip long enough to examine where it started failing. A tear at a clamp, a split in the middle, and a loose spiral each provide different evidence.
As an Amazon Associate I earn from qualifying purchases. “Check Amazon” links are affiliate links.
A relevant product to inspect

Check exact model, included equipment and current seller details.
Check AmazonPreserve the failure clues
After a complete stop, unplug and open the cover only as instructed. Photograph the wrap before removing it. Note whether the strip is loose everywhere, has pulled out at one end, or has a distinct torn spot. Check whether the same location failed on the previous strip.
Look at the workpiece too. A protrusion, hard contamination, or irregular high spot may be relevant. If the failure happened immediately after installation, start with strip compatibility and the installation sequence. If it happened late in a demanding run, include abrasive condition and the sanding load in the record.
Verify the correct abrasive
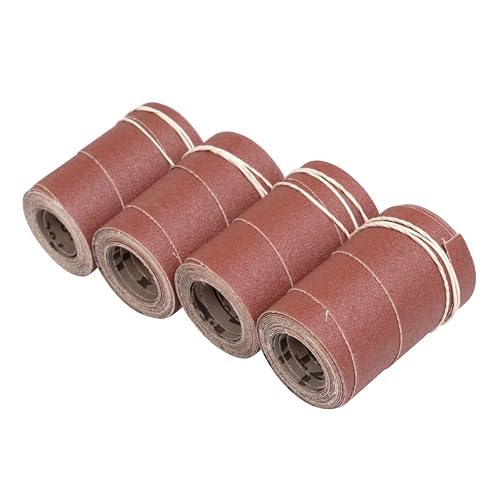
Confirm the backing type, strip width, length, taper, and attachment method for the exact machine. Similar drum widths do not guarantee identical wraps. A strip that can be forced into the clamps is not necessarily the correct replacement. Use the specified template or a verified compatible precut strip.
Grizzly’s G0449/G0450 instructions describe their own retaining and tensioning system. Those steps are not interchangeable with a spring-clip arrangement on another sander. If a retailer’s compatibility claim conflicts with the machine manual, resolve that conflict before fitting the strip.
Check the complete product offer
Affiliate link. Confirm the version, specifications and included accessories before purchase.
Check AmazonCheck installation without improvising
Follow the complete wrapping sequence with power disconnected. Make sure the strip sits as the manual requires, with no overlap or raised bubble. Inspect accessible attachment parts for damage or contamination. Do not compensate for a damaged fastener with tape, glue, a makeshift wedge, or an extra screw.
A take-up mechanism must be left in the position and with the travel specified for that design. More tension is not a universal cure, and forcing an end farther into a slot can create a different fit problem. If the mechanism will not operate normally, stop and obtain the correct repair guidance.
Restart with a controlled test
Restore the cover and guards, remove installation tools, and complete the manufacturer’s test procedure. Use appropriate scrap and a conservative sanding setup. Stop and inspect if you hear an unfamiliar slap or see a new repeating mark. Do not open the cover on a rotating drum to locate the sound.
When a second correctly specified wrap fails at the same point, avoid consuming more abrasive while guessing. Send the manufacturer photographs of the failure, part identification, and the operating conditions. Repeated localized damage may require a closer inspection of the drum or attachment system. Keep the machine out of use if the strip cannot remain securely installed.
Questions, answered
Can I patch a torn strip?
Replace a damaged strip with a compatible abrasive. An improvised patch changes its thickness and security and is not an approved repair.
Can I reuse the old wrap as a cutting template?
Only if the manual allows it and the old strip is an accurate, undamaged example. A stretched or incorrectly cut strip can reproduce the original fit problem.